Spring Garden Focaccia Bread Recipe
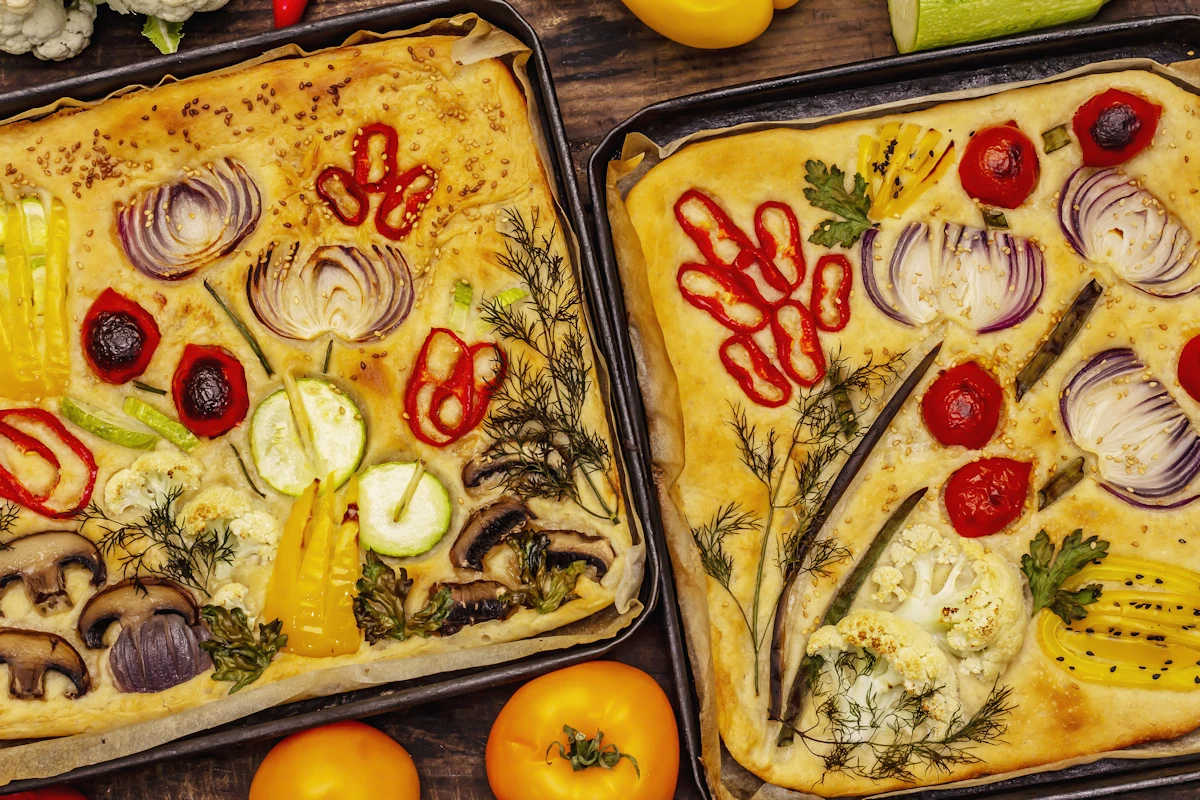
Focaccia is the perfect beginner’s bread recipe because it doesn’t require all the breadmaking skills. It’s also perfect for anyone who wants to take it to the next level by making their focaccia bread a work of art to celebrate spring.
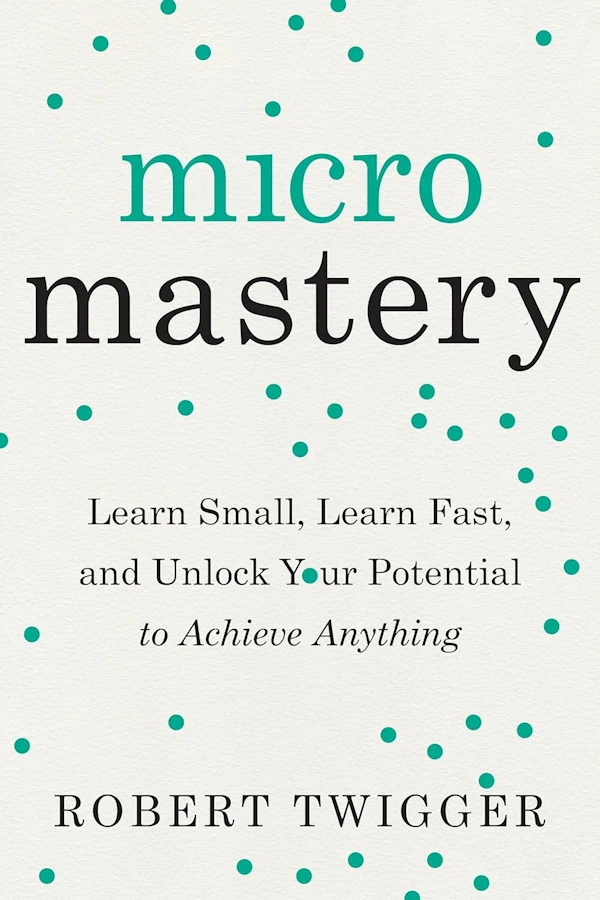
The shortcut to mastering the skill of breadmaking is discovering the secret “entry trick” from a pro who knows. Robert Twigger explains in his book, Micromastery.
“For any task that we want to master, there is one skill that unlocks the potential for all other skills.
This is the ”entry trick” that one thing that elevates your performance at the task quickly and easily. Focusing your effort on that one skill is a micromastery, the gateway to mastering the task as a whole.
The only way to learn the entry trick is from a pro who knows who is willing to share the secret they’ve taken years to perfect.”
Tim Bereika at Kitchen & Craft is willing to share the “entry trick” secret to breadmaking – focaccia bread.
- It doesn’t have a preferment (like sourdough starter)
- It is baked in a regular pan, not a loaf pan, so you don’t need to know dough-shaping
- You don’t need to know how to knead
- You can top the bread with anything you want, so it can be as simple or complex as you wish
Tim’s Tip: make sure the water you use is warm – about 110° F. “If the water is too hot, it kills the yeast, and if it’s too cold, it won’t activate the yeast either.”
King Arthur Baking Company recommends instant yeast instead of active dry.
Spring Garden Focaccia Bread
35
minutes4
hoursKeep the screen of your device on while cooking
Ingredients
- Bread Dough
5 c 5 flour
1/4 tsp 1/4 instant or quick-rise yeast
1 3/4 c 1 3/4 warm water
1 tsp 1 kosher salt
1 1/2 Tbsp 1 1/2 extra virgin olive oil
- Spring Garden Toppings
7 7 mushrooms, sliced
4 4 plum tomatoes, halved
1 1 red pepper, slivered
1 1 1 yellow pepper, sliced
1 1 1 red onion sliced lengthwise
1/4 tsp 1/4 black peppercorns
4 4 dill branches
Directions
- For Dough:
- Pour flour into a large mixing bowl (or bowl of your stand mixer), add quick dry yeast and stir until well blended.
- Create a “well”, an indentation, in the center of the flour to hold the liquid ingredients.
- In another bowl, pour in warm water and add salt, stirring to dissolve.
- Pour salted water into the well created in the flour mixture. Add olive oil.
- Mix together with your hands, or with a stand mixer using a dough hook. If mixing by hand, once the ingredients are mixed and the dough appears shaggy, Tim Bereika recommends working the dough by pinching it between thumb and forefinger so the dough isn’t overworked.
- Once dough is smooth, transfer it into a lightly greased bowl.
- Instead of kneading, use a folding technique. Grab 1/3 of the dough, pull it up and fold it over the top of the rest of the dough. Turn the bowl and repeat until you’ve folded all the dough. Cover and let stand for 20 minutes in a warm place without drafts. (I cover it with a clean tea towel.)
- Repeat the folding process 3 more times. The dough is ready when it is smooth and bounces back when you poke it.
- Cover bowl with plastic wrap and set dough aside until it has doubled in size. (You can put it in the fridge to rise overnight.)
- Grease 9×13 baking pan with olive oil. Transfer dough into greased pan. Using your fingers, press and stretch dough until it fills all 4 corners.
- Cover the pan and let dough rise again for about an hour. It has risen, but not quite doubled. Tim’s tip: an oven with the light on is the perfect temperature setting (and there’s no drafts).
- Time to dimple the focaccia dough. Get a bowl of warm water large enough to fit your hand. Dip your fingers in the water and press them into the dough, deep down to the bottom. The goal is to dimple the dough but not deflate it, so you’re not working the dough. Dip your fingers in the water, press straight down to bottom of pan and repeat from one end of the pan to the other, side to side.
- Cover the dough again and let it rest in oven for another 45 minutes. The dough is ready if it has risen to 2/3 the depth of the pan, with bubbles on the surface of the dough, it jiggles like jello when the pan is slightly shaken.
- Add Toppings
- Brush with olive oil.
- Add toppings on surface of dough. Create the spring garden as in the photo or keep it simple with slices of 1/2 a red onion and 2 Tbsp fresh rosemary in 4 Tbsp olive oil. Don’t take too long or the dough will dry on the top.
- Sprinkle with coarse salt.
- Bake Bread
- To get an even browning with a nice crust and to make the bread rise nicely, you need a moist oven. Put a pan 1/2 full of boiling water on the bottom rack of the oven.
- Preheat oven to 450° F.
- Bake dough on middle rack for 35 minutes or until edges are golden brown.
- Remove bread from pan onto wire rack and let cool.
Like this recipe?
Follow @playtimeandparty on Pinterest